Creating long exposures during the day using a 15 stop ND filter
Creating super long exposures during the day requires the use of neutral density filters capable of blocking a lot of light. During the brightest parts of the day the sunlight is very intense, with exposure times often around 1/500th secs and faster being required to expose correctly. A NiSi 15 Stop ND filter – also known as the “Super Stopper” – will help achieve the artistic shutter speeds required for extreme long exposure cloud movement and silky smooth water when shooting during the day.
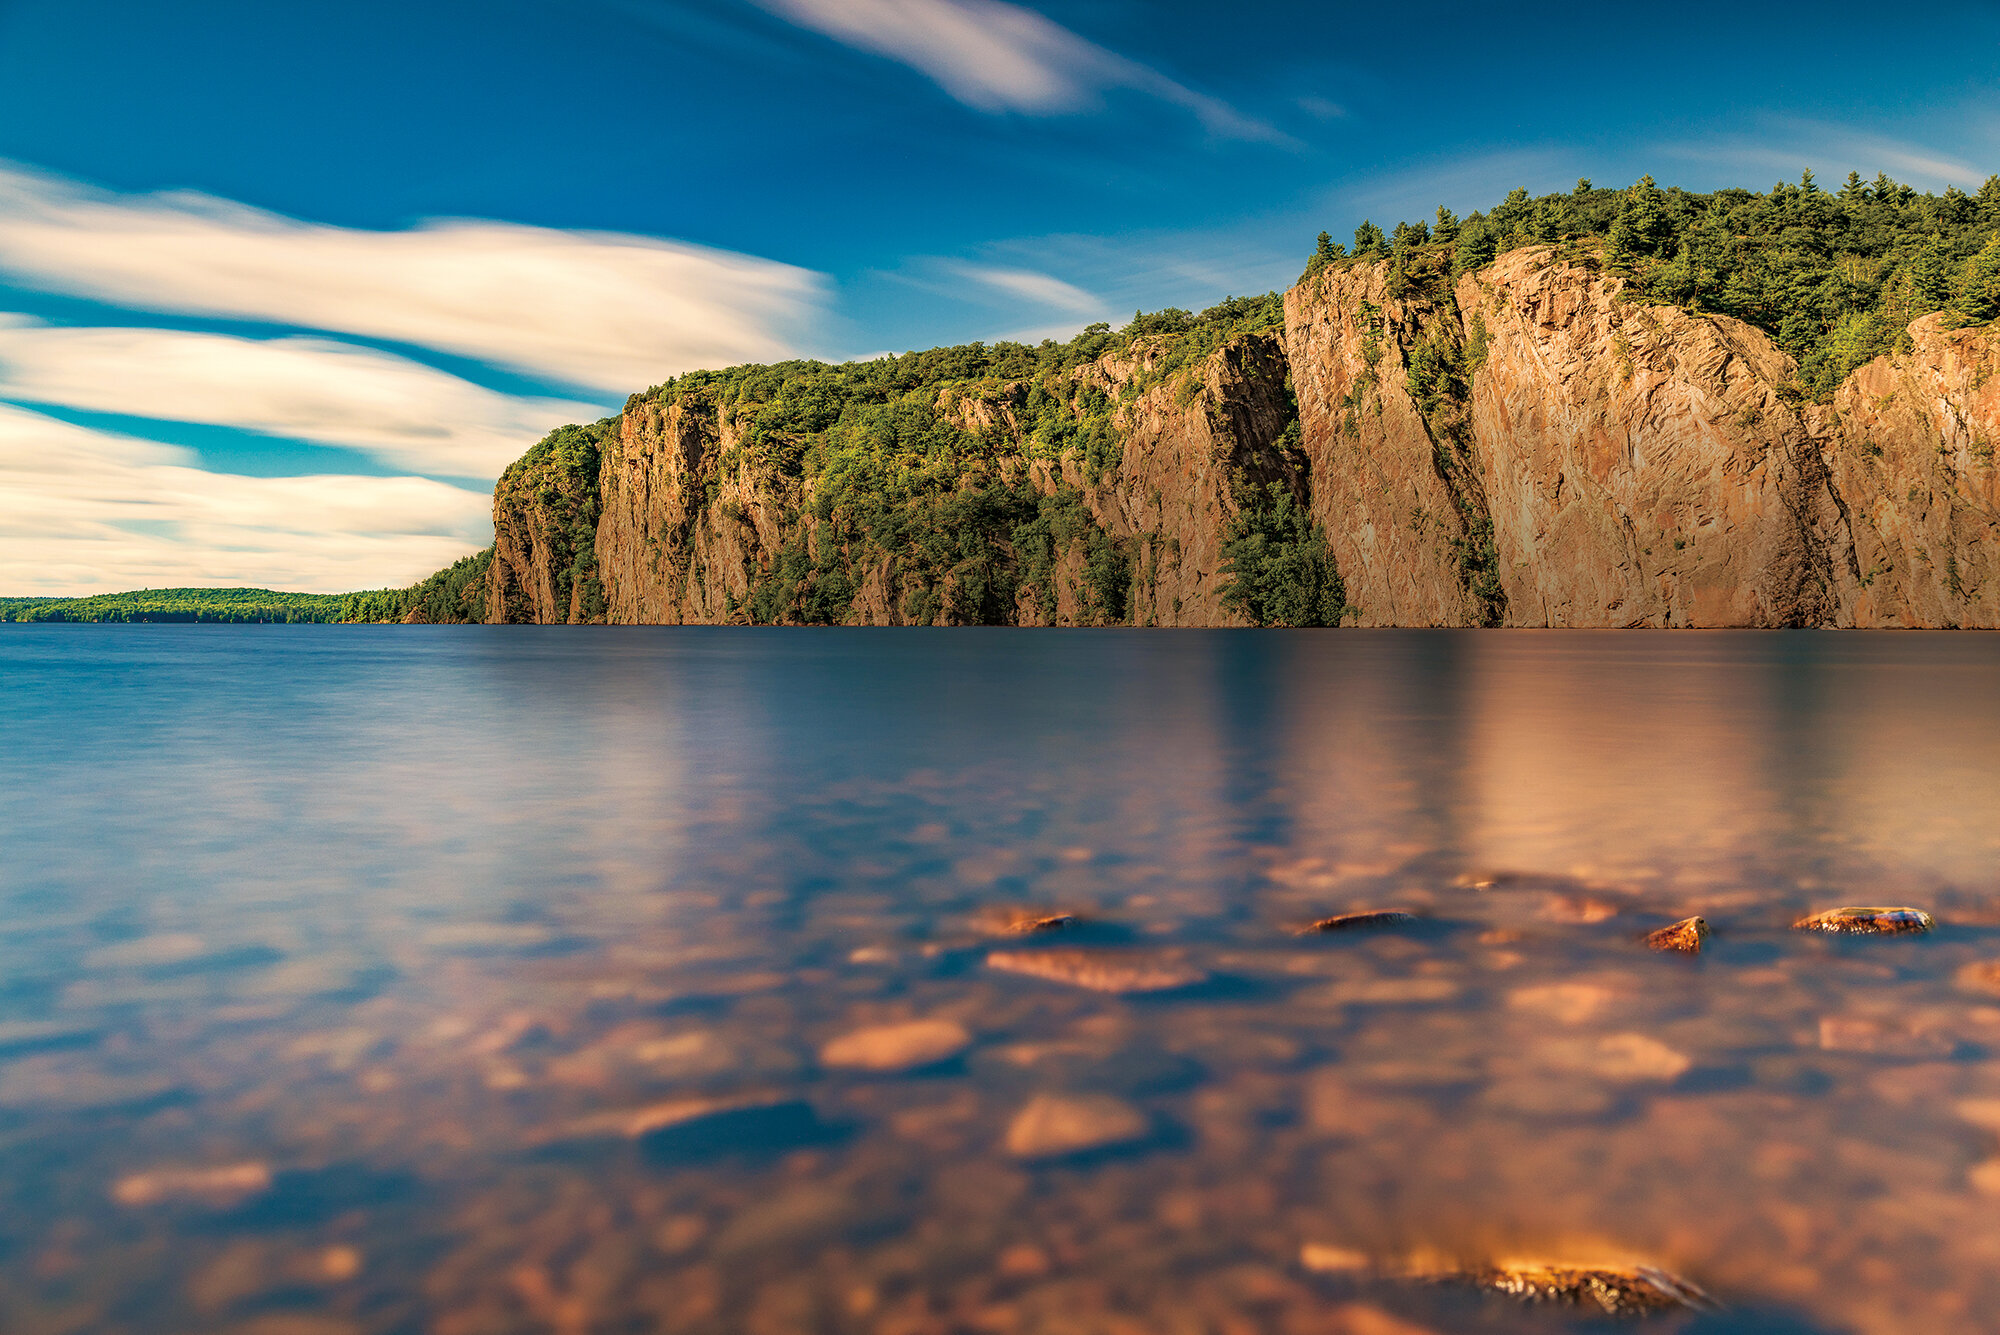
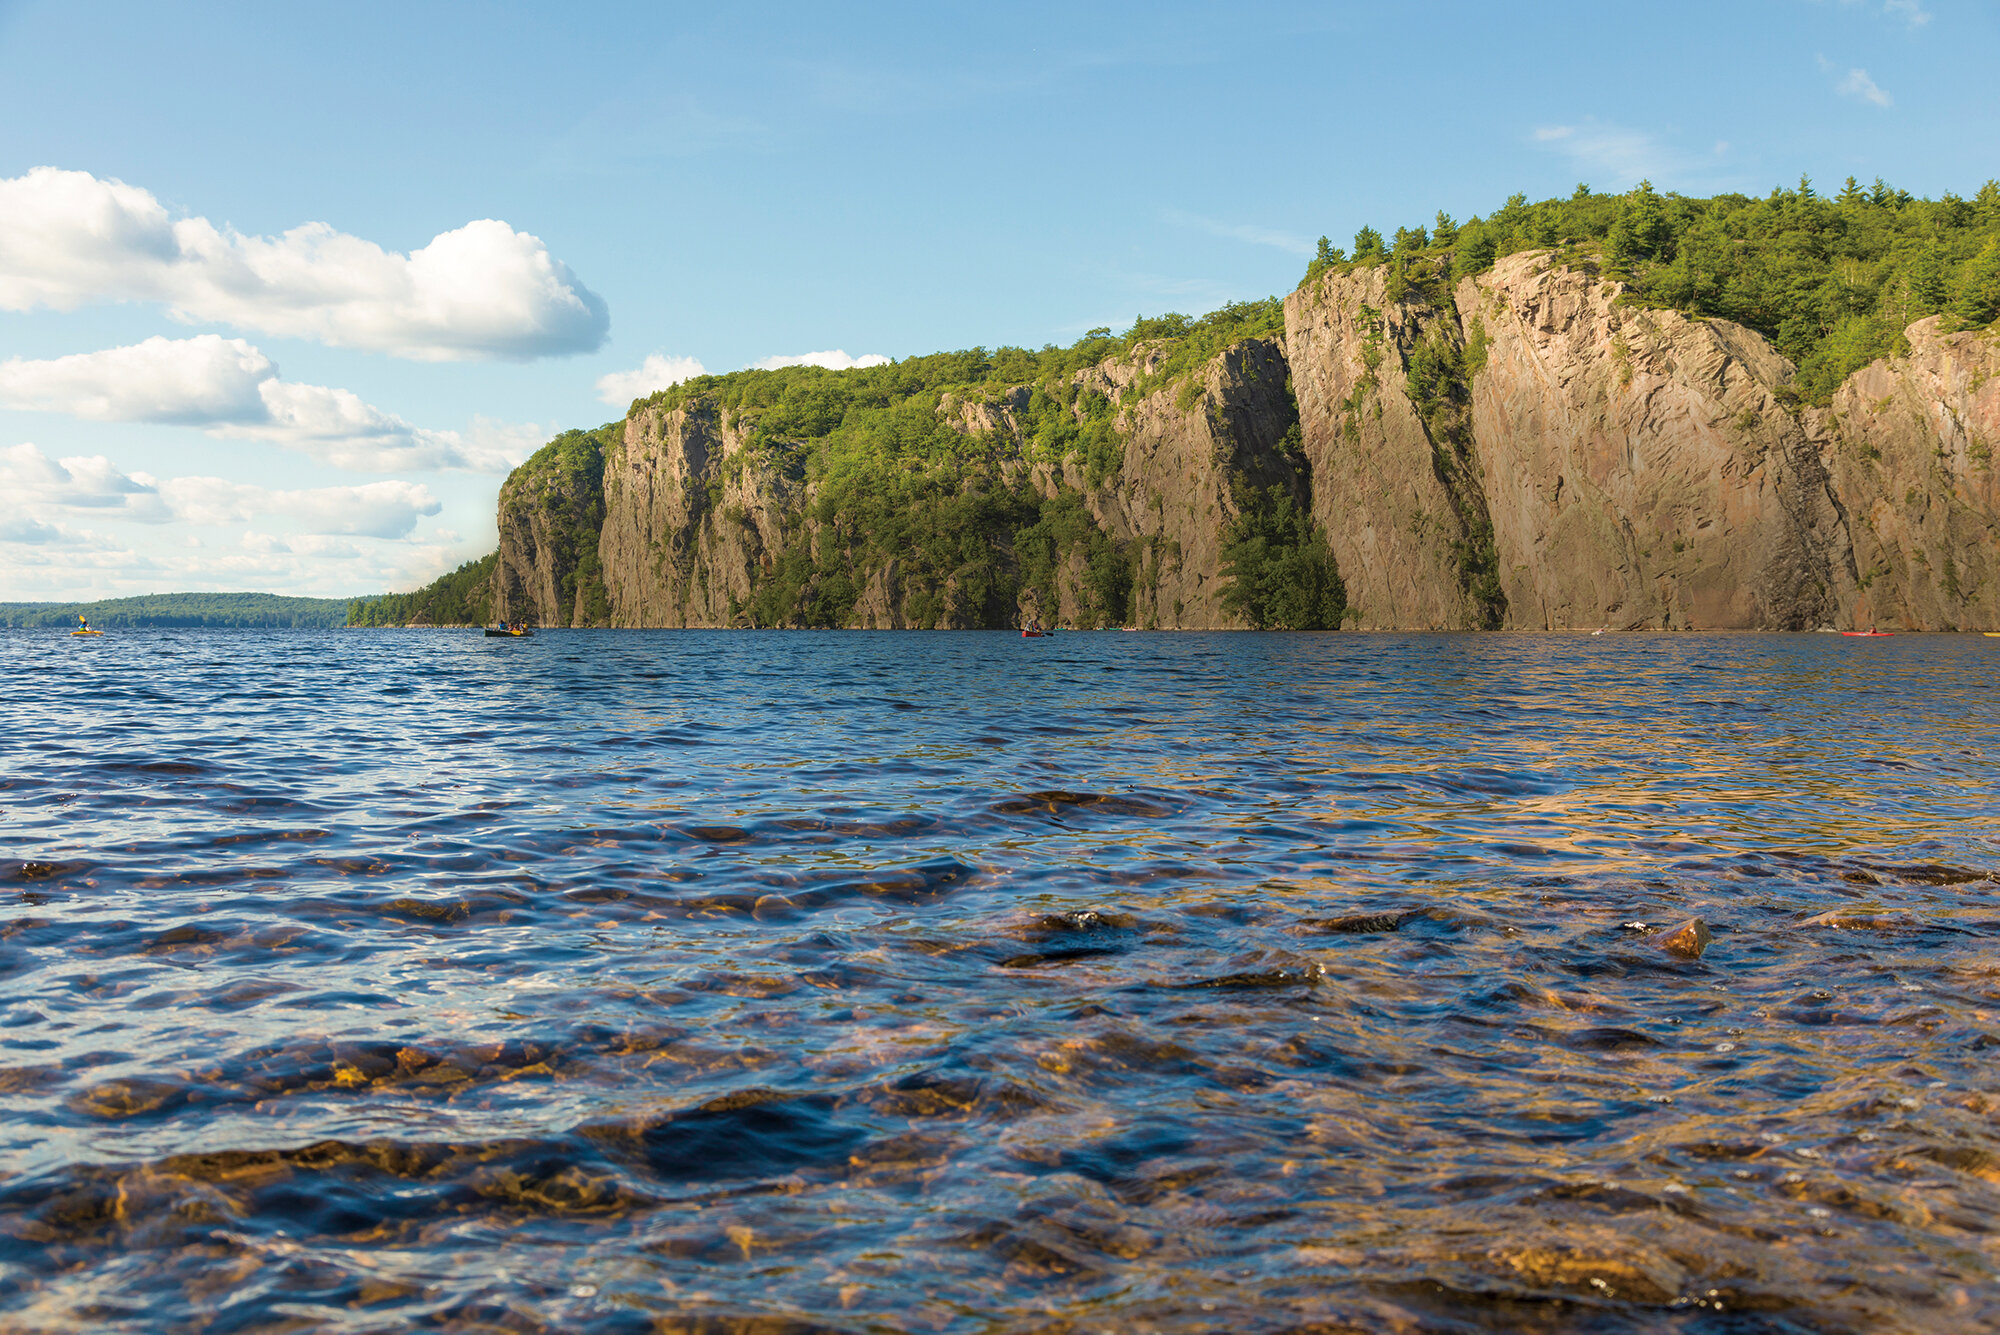
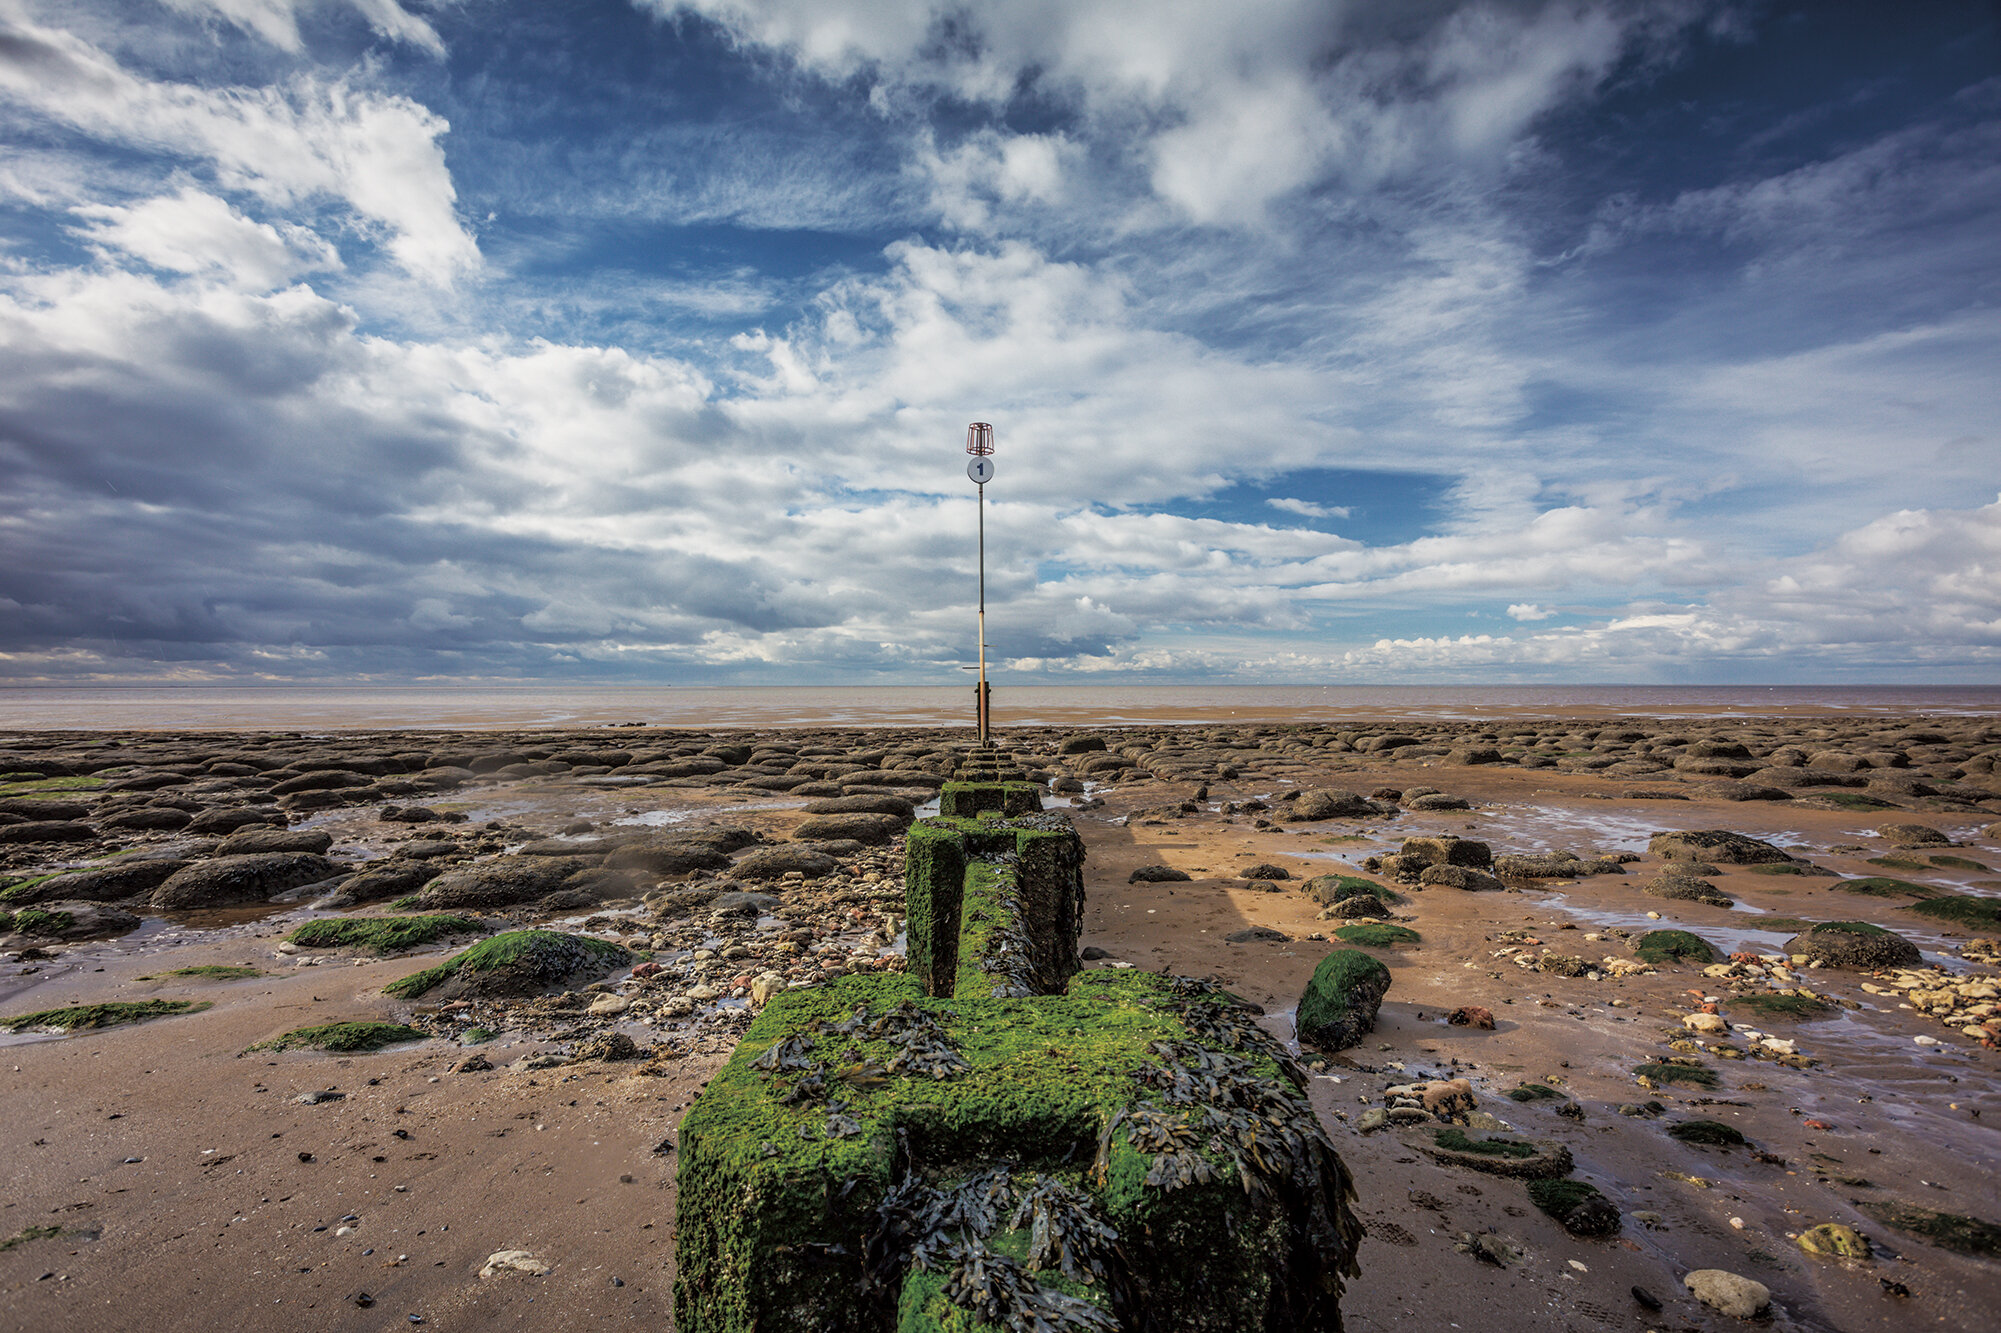
The middle of the day is often seen as unsuitable for shooting long exposure landscape images due to the bright, harsh and often contrasty light and shadows that are produced when the sun is higher in the sky. By using a 15 stop ND filter you can introduce movement and softness into otherwise harsh lighting conditions. Cloud movement can be captured across a longer period of time. Water can be smoothed creating a dreamy, artistic effect in your images.
A 15 stop ND filter can help you to be creative at a time of the day when many landscape photographers would not plan to be out shooting, and create artistic images out of what is often considered to be less than ideal light for landscape photography.
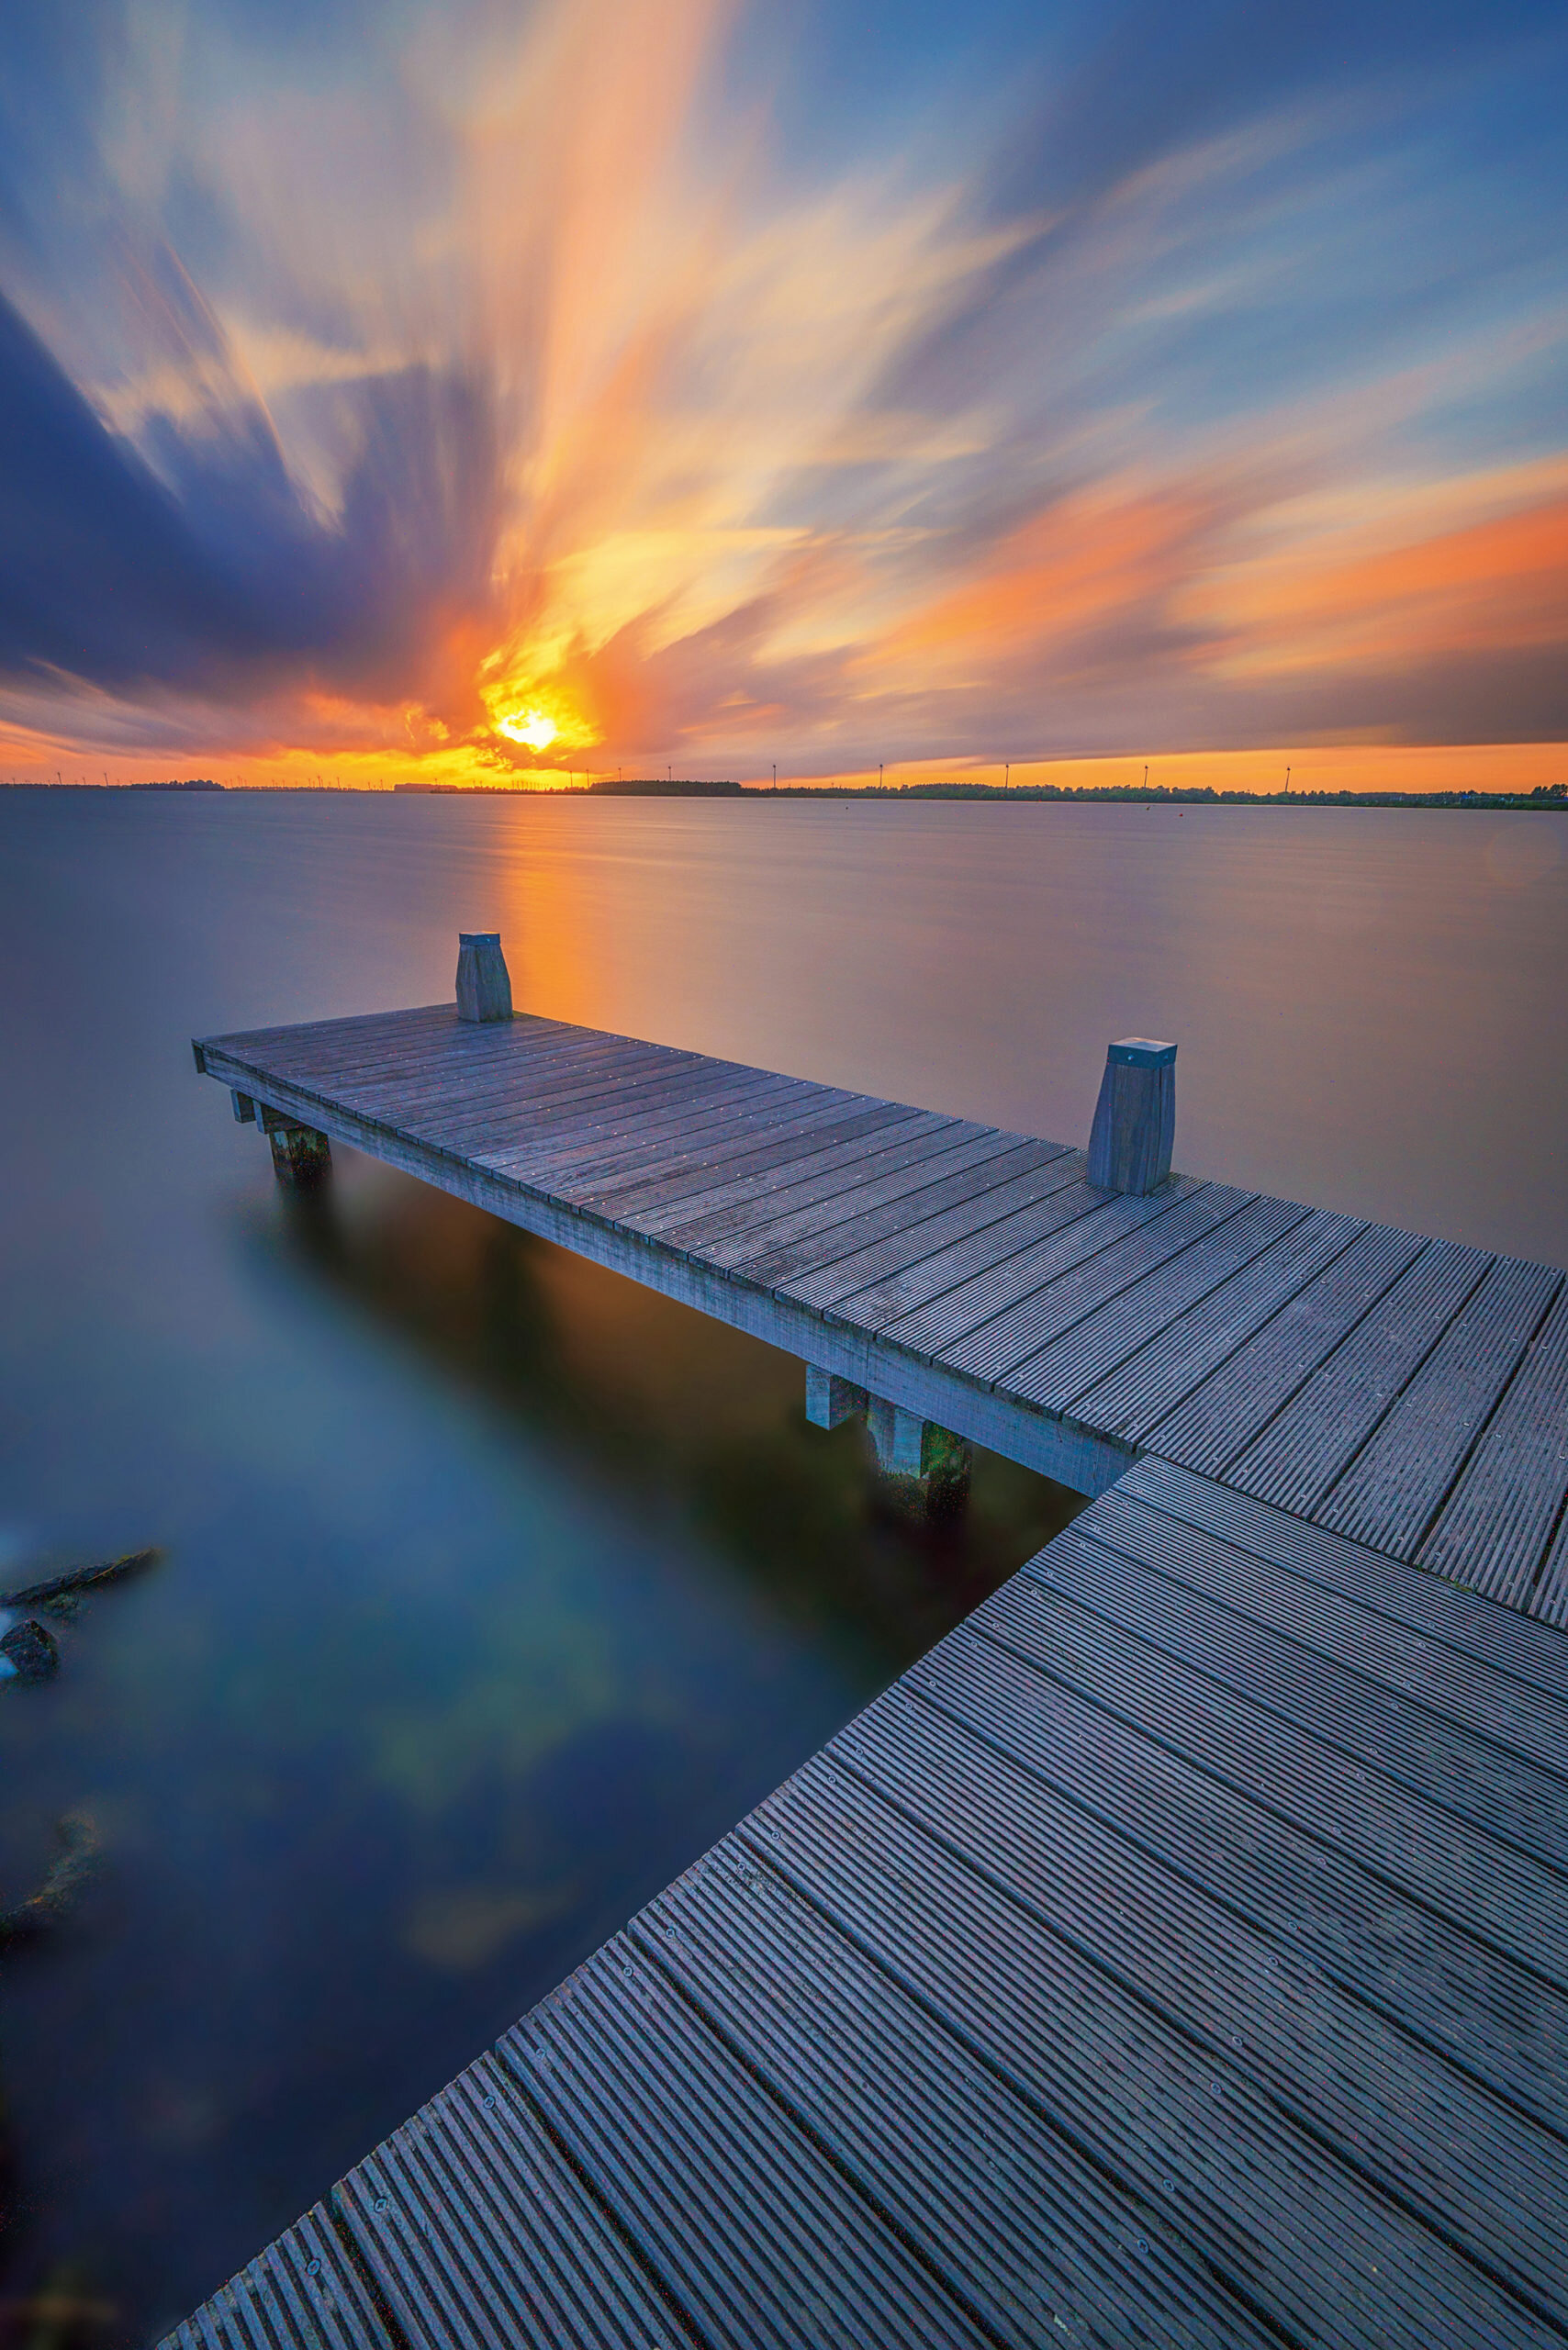
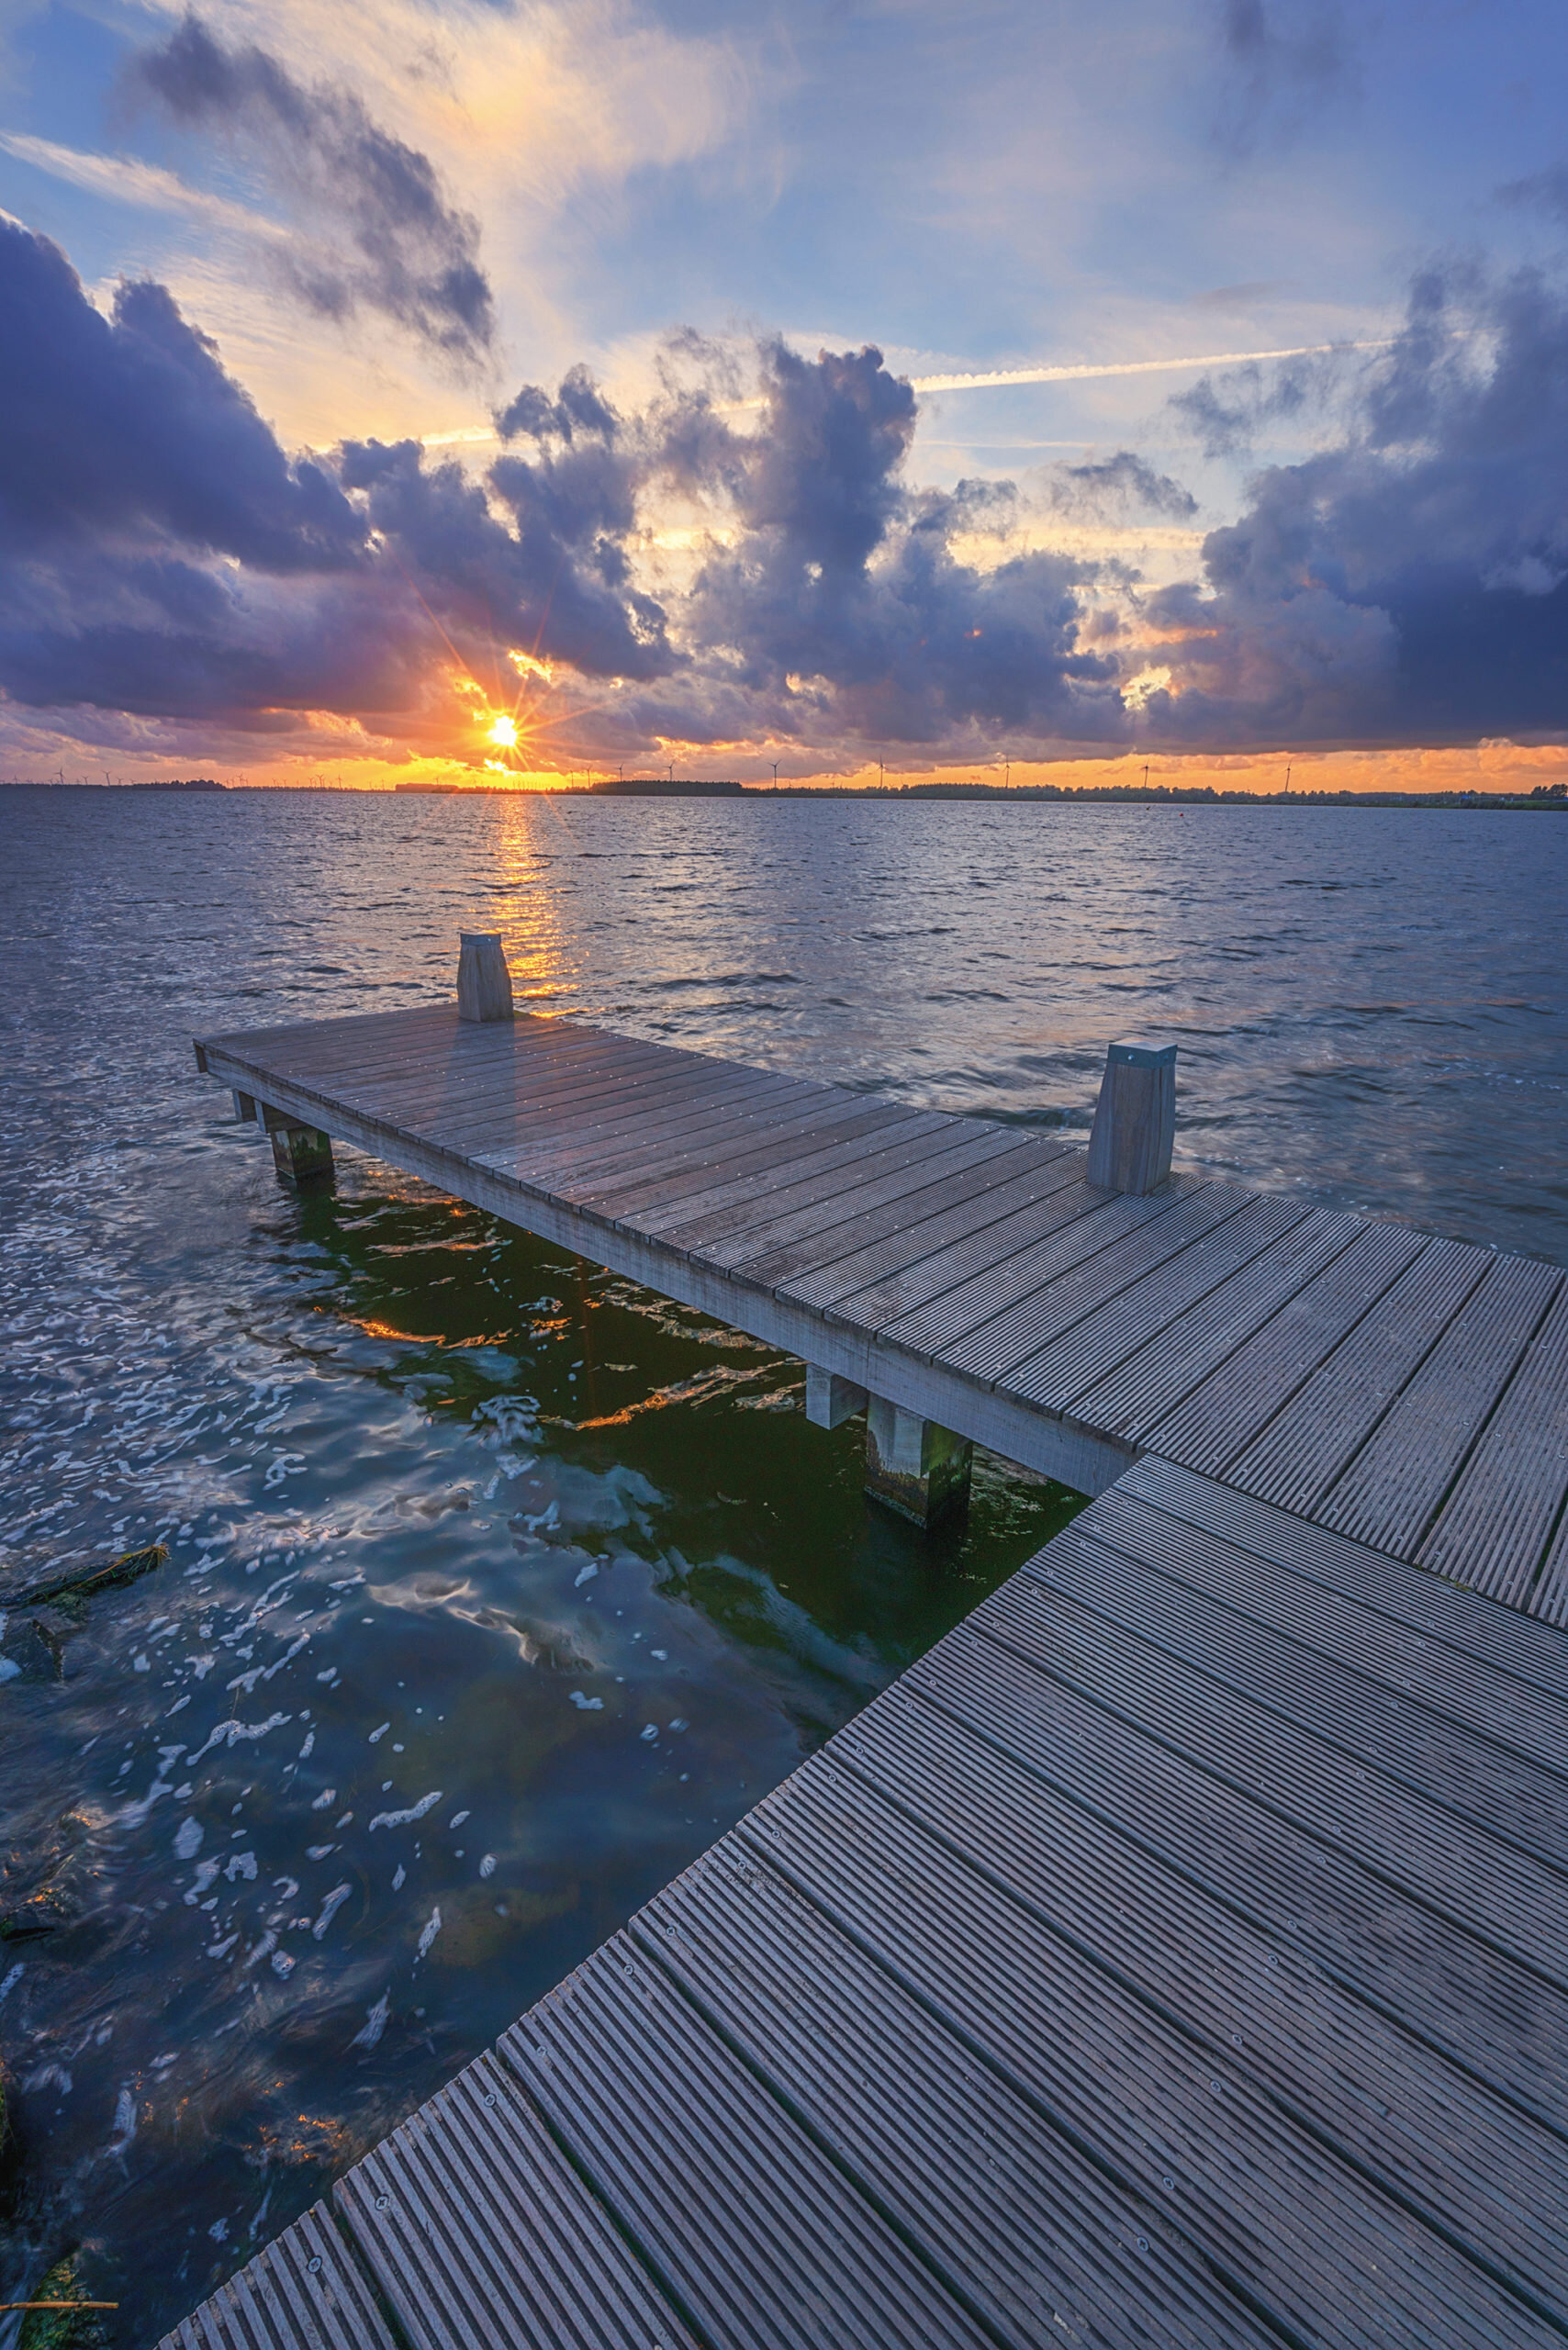
Shot with 15 stop ND filter
What is a 15 stop neutral density filter?
Neutral density filters are designed to allow a reduced amount of light to enter your lens and hit your camera sensor. Light is calculated in “stops” – with a single stop of light reduction doubling your shutter speed. Each additional stop of light being reduced would incrementally double your shutter speed. A 15 stop ND filter, also known as a ND32000 allows only 1/32,000th of the available light to enter the camera, allowing for extremely long shutter speeds in even the brightest of lighting situations like the middle of the day.
Because of their extreme density, 15 stop ND filters are best used in very bright conditions. Attempting to use one during sunrise or sunset will require extremely long shutter speeds across a period of time when light is shifting quickly. It is not uncommon to shoot exposures of between 1 second and upwards of 2 or 3 minutes during these times with no filters, or with less dense filters such as a 6 stop or 10 stop ND attached. If just a 1 second exposure time is required without filters, by using a 15 stop ND filter your exposure time would extend out to 9 hours, 6 minutes and 8 seconds! This is quite a long time…
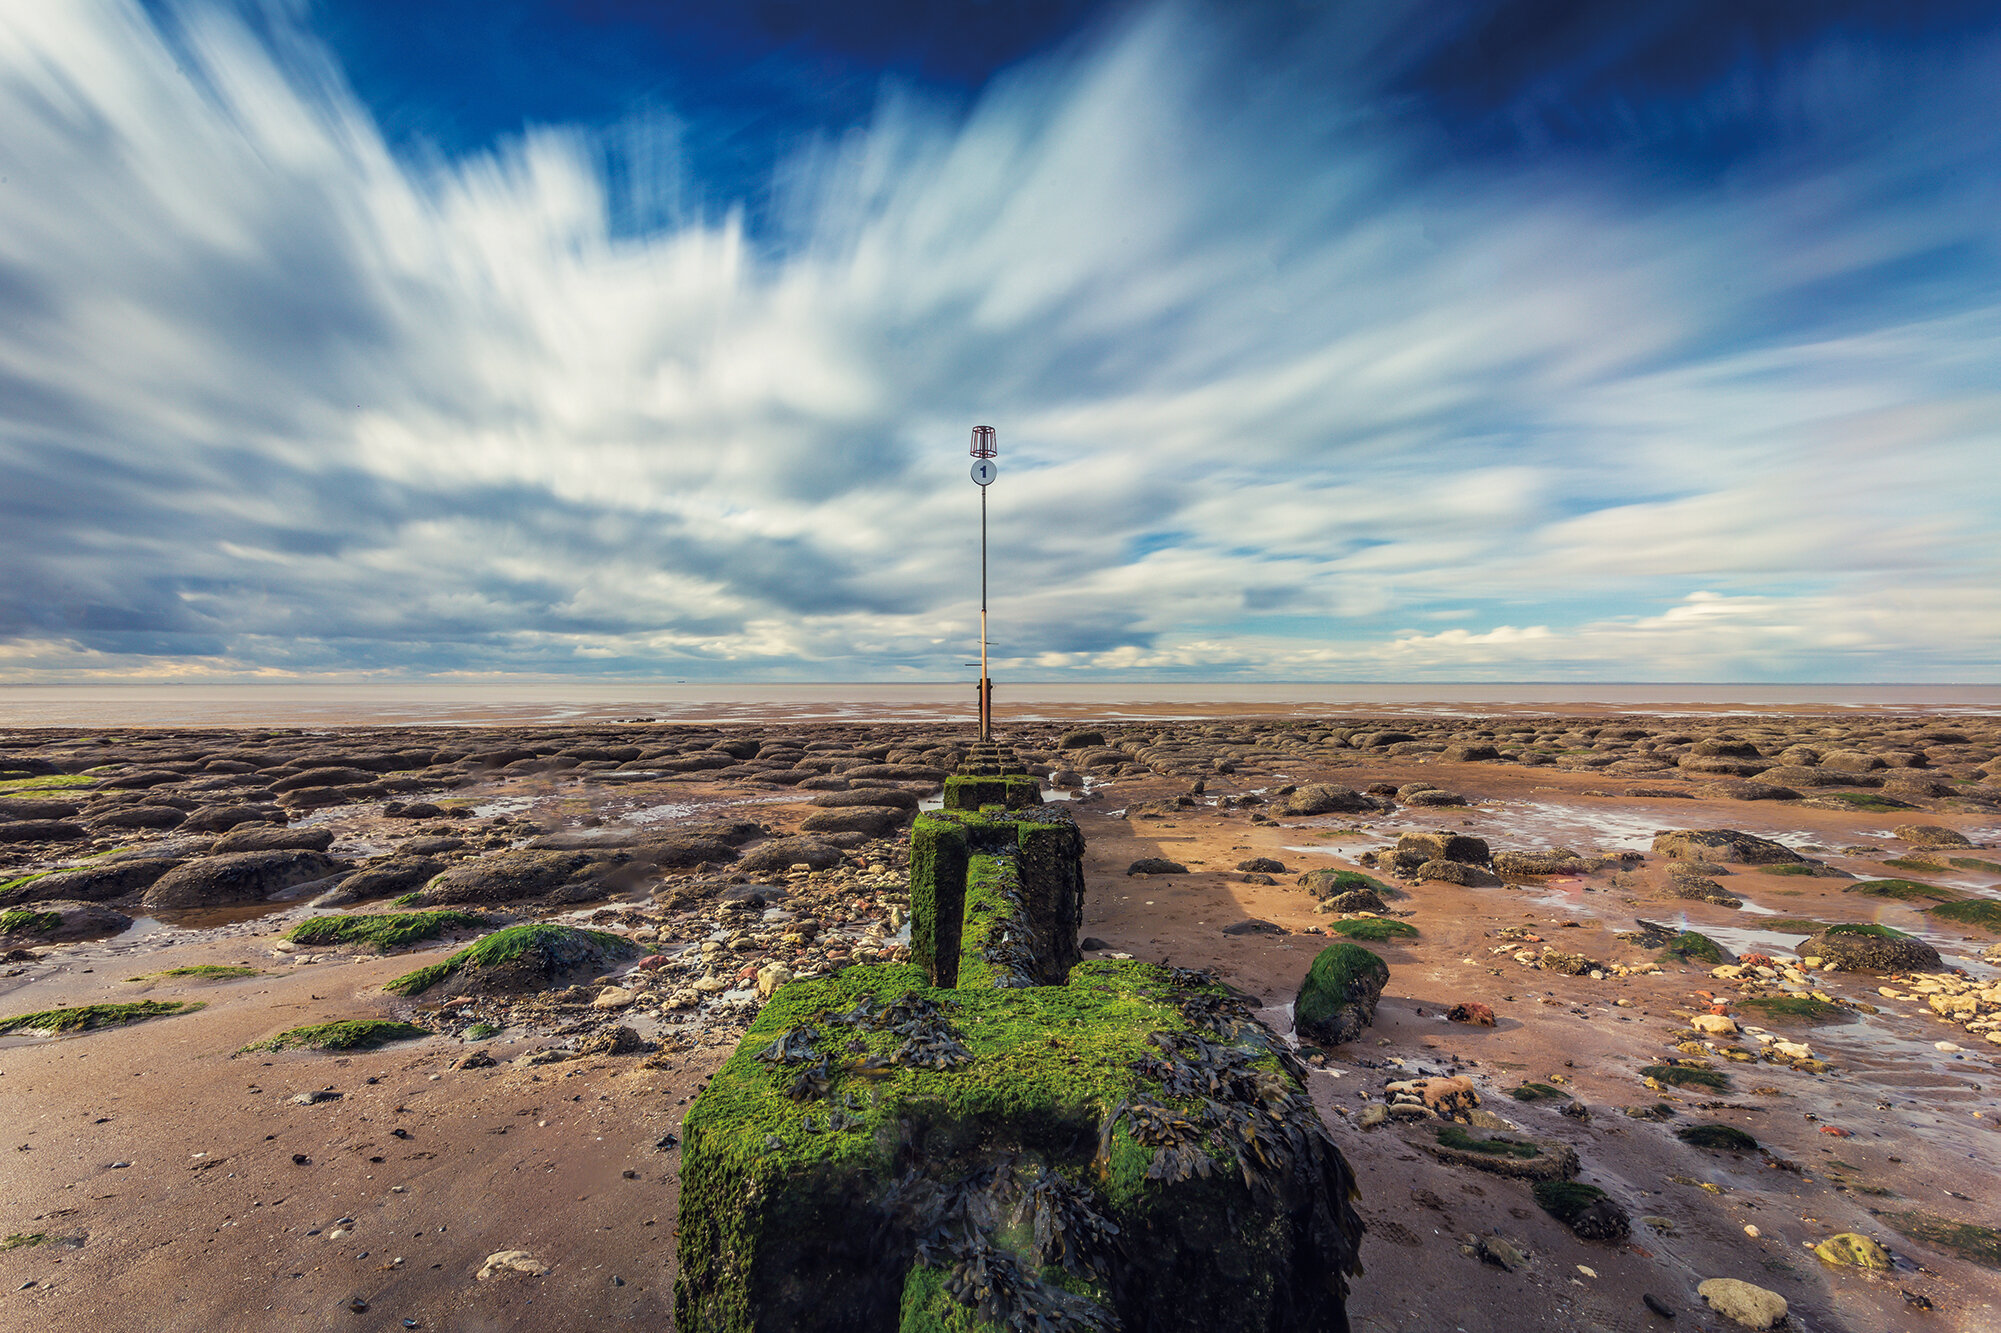
That is why 15 stop ND filters are best used in much brighter parts of the day when the sun is high and the light is at its most intense. If a shutter speed of around 1/100th seconds is required without ND filters, a shutter speed of 5 minutes and 27 seconds is what would be required when using a 15 stop ND. These longer shutter speeds will allow you to capture cloud movement and extremely smooth, silky water effects. Something to be aware of when using 15 stop ND filters is they are best used in consistent lighting conditions where light is not shifting during the long exposures. Any changes in lighting conditions can easily lead to exposure issues if you are not adjusting your exposure times for the shifting light.
Shot with 15 stop ND filter
NiSi 15 stop ND filters are available for our square filters systems in 75mm, 100mm and 150mm sizes and can be stacked with other filters such as graduated ND filters. Our NiSi 15 stop circular ND filters come in a range of sizes from 67mm to 95mm for lenses with standard screw on filter threads. All of our 15 stop neutral density filters are made from the highest quality optical glass ensuring consistent and uniform light transmission across the entire filter.
How do you use a 15 stop neutral density filter?
A NiSi 15 stop ND filter is an extremely dark piece of optical glass which you will not be able to see through with your eyes. Your camera will also not be able to expose for the scene with the filter attached to the camera. This means there will be a process involved in setting up, composing your scene, calculating your desired exposure times and then shooting!
Let’s take a look at the steps you should take when using a 15 stop ND filter to capture your images.
Shot with 15 stop ND filter
Step 1 – Setup camera on tripod and compose your scene
Composing your scene will need to be done prior to attaching a 15 stop ND filter to your lens. Because of the need to shoot very long exposure times, a sturdy tripod will nee to be used to hold the camera and lens. You will not be able to see through the 15 stop ND filter once it is attached to your lens, so ensure you have composed your scene exactly how you like it. It is very important to ensure once you have focussed your lens correctly that you shift into manual focus to lock it before attaching your 15 stop ND filter. Your cameras autofocus will not work once the filter is attached, and you will need to remove the filter to refocus your lens.
Step 2 – Calculate your base exposure time without any neutral density filters
Once you have set your camera up on the tripod and composed your scene, using full manual mode get your exposure settings correct. Using either centre weighted or evaluative metering, get your exposure settings dialled in correctly to be +/- 0EV for the darkest parts of your scene. We will use the following settings as the example for the rest of this article –
Shutter speed : 1/250th secs
Aperture : f / 8
ISO: 100
Mode : Manual
Step 3 – Attach your 15 stop ND filter
Once you have your base shutter speed and other exposure settings correct, and you have composed your scene, focussed your lens and then ensured you have switched to manual focus, you can attach the 15 stop ND filter to your lens. If you are using square filters, insert it into its holder and clip it onto the lens. If you are using circular filters, screw your 15 stop ND on. Whichever filter system you are using, ensure you are careful when attaching it. Try not to bump the lens or in any way change the focal plane otherwise you will need to start all over again…
Step 4 – Use the NiSi Filters Australia smartphone app to calculate exposure times
We have designed our own smartphone app for both Apple iOS and Androiddevices to make calculating exposure times when using neutral density filters as simple as possible. Once you have your base exposure time without the 15 stop ND filter attached, it is a matter of dialling that shutter speed in to the “Normal Shutter Speed” dial in the app, selecting the 15 Stop (ND32000) filter and taking note of the “Shutter Speed With Filter” output time. This will be the time you will need to keep your cameras shutter open for. Based on the example camera settings above in Step 2 we would have the following exposure time and settings required when using the 15 stop ND filter-
Shutter speed : 2 minutes 11 seconds
Aperture : f / 8
ISO : 100
Mode – Bulb
Note: By using the base shutter speed of 1/250th without a filter , a 15 stop ND will use a shutter speed of 2 minutes and 11 seconds to expose correctly.
Step 5 – Dial in the 15 stop exposure time and shoot!
Once you have your camera set into Bulb mode, dial in the correct settings as listed above and shoot! Just remember that any shifting light will require adjustments to your exposure settings. If for example clouds shift across the sun while you are capturing your exposure, a slightly longer exposure time may be required to compensate for that shifted light. If your scene is getting brighter as you are shooting, you may need to shorten your exposure times slightly to compensate for any over exposure that may occur.
Use your histogram to ensure you are not under or over exposing parts of your scene. A 15 stop ND filter in our square NiSI product range can be stacked with graduated ND filters if the sky or other parts of your scenario are not balanced correctly with the rest of the scene. Adjust your exposure times based on what you are seeing in your histogram and remember that you can always speed your super long exposures up by making adjustments to your ISO settings. A single stop of ISO change can either double or halve your exposure times depending on which way you go, so increase your ISO if your shutter speeds are too long!

